Django AJAX
Ajax stands for Asynchronous Javascript And XML. it is a web development technique to create highly responsive and easy-to-use web applications. Using Ajax we can create better and faster web applications. Ajax helps web pages to be updated asynchronously i.e, it makes it possible to exchange the data between the front-end and back-end or to update part of the website without reloading the whole website.
In Ajax HTML and CSS are responsible for the representation, JSON and XML for storing data, XMLHttpRequest objects for actions in the back-end and javascript helps to put them together.
In this tutorial, we will use ajax with jquery to submit a contact form. With jQuery AJAX, we can use text, HTML, XML, and JSON from a remote server using both HTTP Get and HTTP Post.
Advantages of using Ajax
These are some main advantages of using ajax on the website -
-
Ajax provides no page reload on each request.
-
Ajax makes it easy to update a specific part of the website, not the full web page.
-
Ajax makes it easy to send and receive data from back-end,
-
Ajax provides a better user experience.
-
Ajax helps to improve website speed and performance.
The most common use of ajax is in form validation, using captchas, Surveys and polls.
Create Model
First, we have to create a model. Use the following expression to create a model.
- my_app/models.py
class Contact(models.Model):
    name = models.CharField(max_length=50)
    email= models.CharField(max_length=50)
    phone = models.CharField(max_length=12)
    message= models.TextField()

    def __str__(self):
        return self.name
Here, we have created a Contact class that will take the name, email, phone, and image as input.
Add URLs
Add these urls to serve your form.
- my_app/urls.py
from django.contrib import admin
from django.urls import path
from demo import views
from django.conf import settings
from django.conf.urls.static import static

urlpatterns = [
    path("contact/", views.contact, name='home'),
        ]
Here, I created a URL pattern to view my template. After this, I added the required configurations.
Create Template
To display this form we have to add the HTML file in our template folder. Use the following HTML code to display forms.
{% load static %}

{% block contact %}
<link href="//maxcdn.bootstrapcdn.com/bootstrap/4.1.1/css/bootstrap.min.css" rel="stylesheet" id="bootstrap-css">
<script src="//maxcdn.bootstrapcdn.com/bootstrap/4.1.1/js/bootstrap.min.js"></script>
<script src="//cdnjs.cloudflare.com/ajax/libs/jquery/3.2.1/jquery.min.js"></script>
<!-- Include the above in your HEAD tag -->

<section>
<div >
            <form method="post" action="/contact/" id="contactform">
              {% csrf_token %}
                <h3>Drop Us a Message</h3>
               <div class="row">
                    <div class="col-md-6">
                        <div class="form-group">
                            <input type="text" name="name" id="name" class="form-control" placeholder="Your Name *" value="" />
                        </div>
                        <div class="form-group">
                            <input type="text" name="email" id="email" class="form-control" placeholder="Your Email *" value="" />
                        </div>
                        <div class="form-group">
                            <input type="text" name="phone" id="phone" class="form-control" placeholder="Your Phone Number *" value="" />
                        </div>
                        <div class="form-group">
                            <input type="submit" name="btnSubmit" class="btnContact" value="Send Message" />
                        </div>
                    </div>
                    <div class="col-md-6">
                        <div class="form-group">
                            <textarea name="message" id="message" class="form-control" placeholder="Your Message *" style="width: 100%; height: 150px;"></textarea>
                        </div>
                    </div>
                </div>
            </form>

</div>
</section>
{% endblock contact %}
Here, i have created an HTML contact form.
Create Views
To render our template we have to create views. Use the following expression to create views.
- mp_app/views.py
def contact(request) :
    if request.method == "POST":
        name = request.POST.get('name')
        email = request.POST.get('email')
        phone = request.POST.get('phone')
        message = request.POST.get('message')
        contact = Contact(name=name, email=email, phone=phone, message=message)
        contact.save()
    return render(request, 'contact.html',)
Here, we created a view to validate, render and save our contact form. Now all the basic steps of creating a contact form are completed. Please follow the steps given below to use ajax.
Import jquery
What is jquery?
Jquery is a javascript library. It is totally dependent on javascript. Jquery allow us to do a lot of task with minimum lines of code.
Using the following script in your HTML file to import jquery.
<script src="https://code.jquery.com/jquery-3.6.1.js" integrity="sha256-3zlB5s2uwoUzrXK3BT7AX3FyvojsraNFxCc2vC/7pNI=" crossorigin="anonymous"></script>
Use Ajax
Use to following script in your HTML template.
<script>
    $(document).on('submit','#contactform',function(e){
        e.preventDefault();
        var name = $('#name').val()
        var email = $('#email').val()
        var phone = $('#phone').val()
        var message = $('#message').val()

        $.ajax({
            type: 'POST',
            url: '/contact/',
            data: {
                name: name,
                email: email,
                phone: phone,
                message: message,
                csrfmiddlewaretoken: $('input[name=csrfmiddlewaretoken]').val()
            },
            success:function(response){
                console.log(response)
            }

         })

     } )

    </script>
We have used this script inside our html file. You can also use this file in separate folders.
There are three main tasks the above code will do for us.
-
It will capture the submit button of our form so that the default action does not take place.
-
It will collect all the data from our form using jQuery.
-
In last it will Submit the form data.
So, we have done all the required setup now let's check whether our form is working or not.
So, our form is submitted successfully without reloading the whole screen. now let's see whether our data is saved or not.
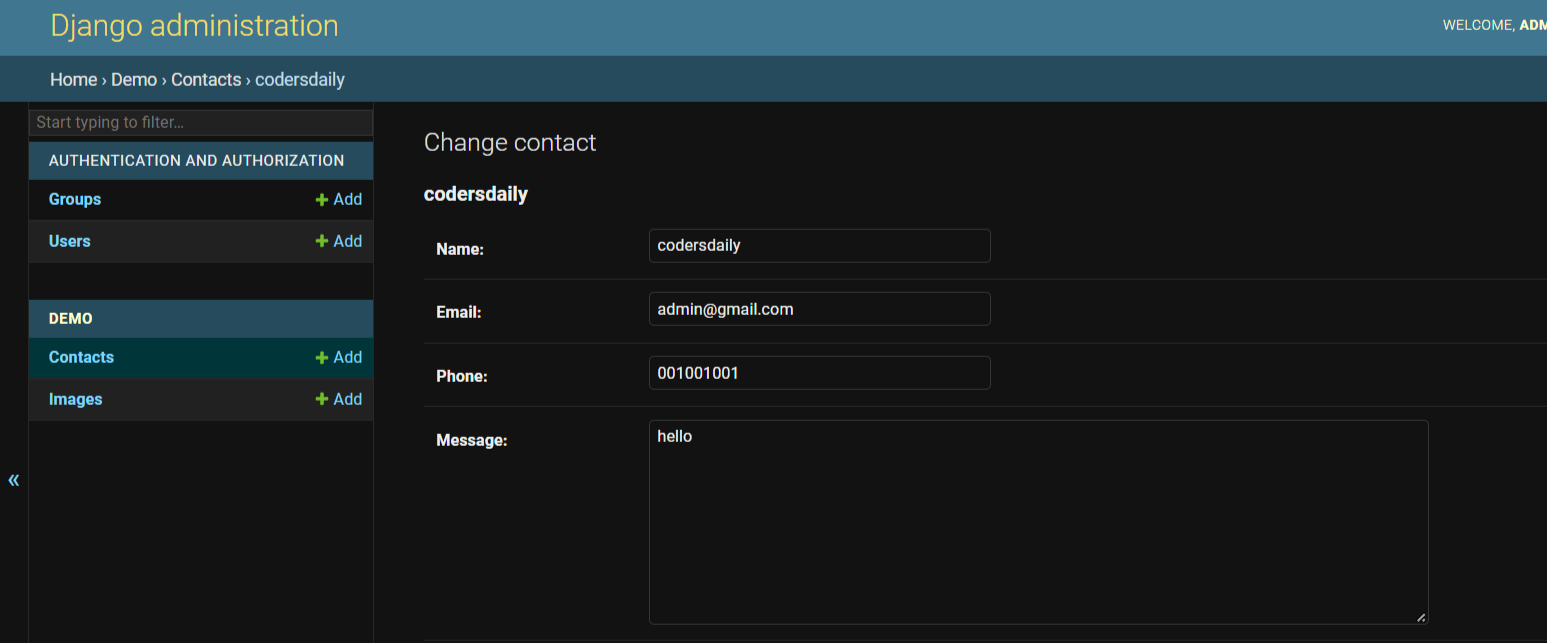
So, our data is also saved successfully.
