Django Images Upload
Images are the most required thing in any web application. We have uploaded images on our web page in previous tutorials but what if we want our users to upload images?
With the help of Django, we can easily build an interface through which users can upload images on our server. In this tutorial, we have practically described how you can upload images in Django. Let's get started by creating a model in our models.py file.
Create Model
-my_app/models.py
class Image(models.Model):
    title = models.CharField(max_length=200)
    image = models.ImageField(upload_to='images')

    def __str__(self):
        return self.title
Here, I have created an image class in my models.py file. Inside my image class, I have created an image field to store images. In my image field, I have given a parameter to specify in which folder I want to store my images. Next, we have to add some settings to serve and upload media files.
Add Settings
Now, we have to add the media URL and media root in our project’s settings.py file.
-my_project/settings.py
MEDIA_URL = '/media/'
MEDIA_ROOT = os.path.join(BASE_DIR, 'media/')
Install Pillow
As we are working with images we have to install a pillow in our system. Use the following command to install it.
pip install pillow
Create Form
Use the following expression to create a model form.
-my_app/forms.py
class ImageForm(forms.ModelForm):
    """Form for the image model"""
    class Meta:
        model = Image
        fields = ('title', 'image')
Here, we have created an Imageform class in our forms.py file. Inside our main class, we have created another class and added an image field. We will add our image field directly to our template through this form. After this add the required configurations in my_app.urls.
Add URLs
To serve the media files add the following configurations in your app’s urls.py file. Before adding the configurations add the following things.
- my_app/urls.py
from django.contrib import admin
from django.urls import path
from demo import views
from django.conf import settings
from django.conf.urls.static import static

urlpatterns = [
    path('upload/', views.Image),
        ]

if settings.DEBUG:
    urlpatterns += static(settings.MEDIA_URL,
                            document_root=settings.MEDIA_ROOT)
Here, firstly I have imported settings and static files. Then I created a URL pattern to view my template. After this, I added the required configurations.
Create Template
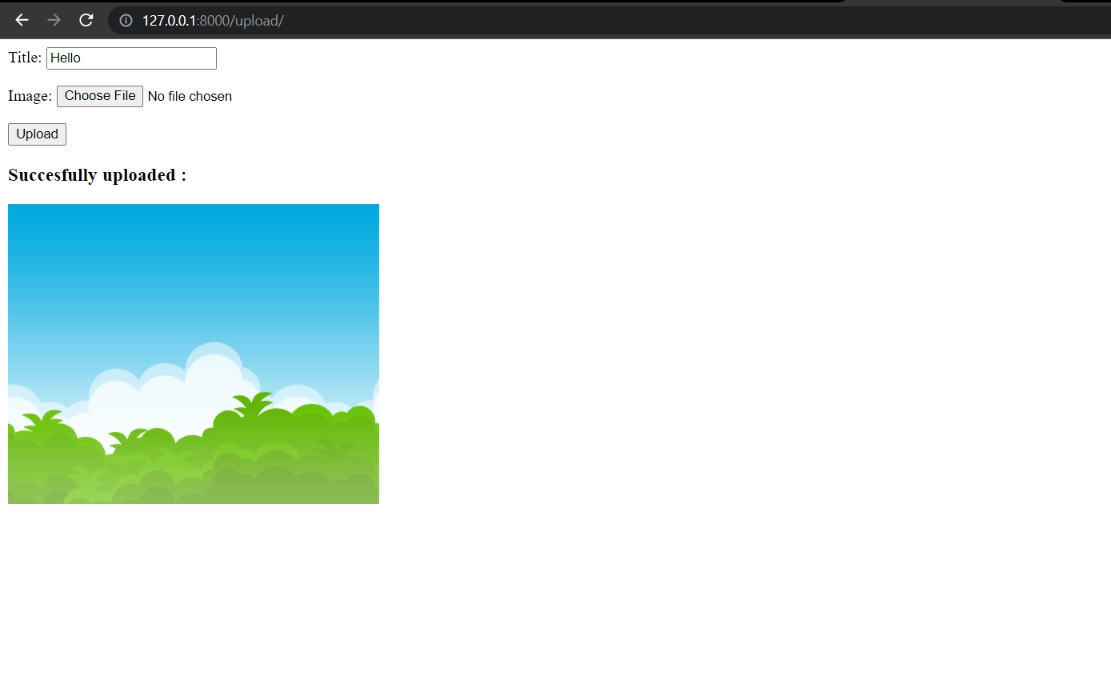
To display this form we have to add the HTML file in our template folder. We’ll render our Django form inside our HTML file.
{% block content %}
    <form method="post" enctype="multipart/form-data">
        {% csrf_token %}
        {{ form.as_p }}
        <button type="submit">Upload</button>
    </form>

    {% if img_obj %}
        <h3>Succesfully uploaded : {{img_obj.caption}}</h3>
        <img src="{{ img_obj.image.url}}" alt="connect" style="max-height:300px">
    {% endif %}

  {% endblock %}
So, we have added our template. Now, we have to make views to render templates.
Create Views
We have created the models, view, and template but, to render this template we have to create views. Use the following expression to create views.
- mp_app/views.py
def Image(request):
    if request.method == 'POST':
        form = ImageForm(request.POST, request.FILES)
        if form.is_valid():
            form.save()
            img_obj = form.instance
            return render(request, 'image.html', {'form': form, 'img_obj': img_obj})
    else:
         form = ImageForm()
    return render(request, 'image.html', {'form': form})
Here we have used function-based view. Inside our function, we have used an if condition to check our request method is post. Then, we used another if condition to check whether our submitted form is valid or not. If all the things are valid our form will get saved.
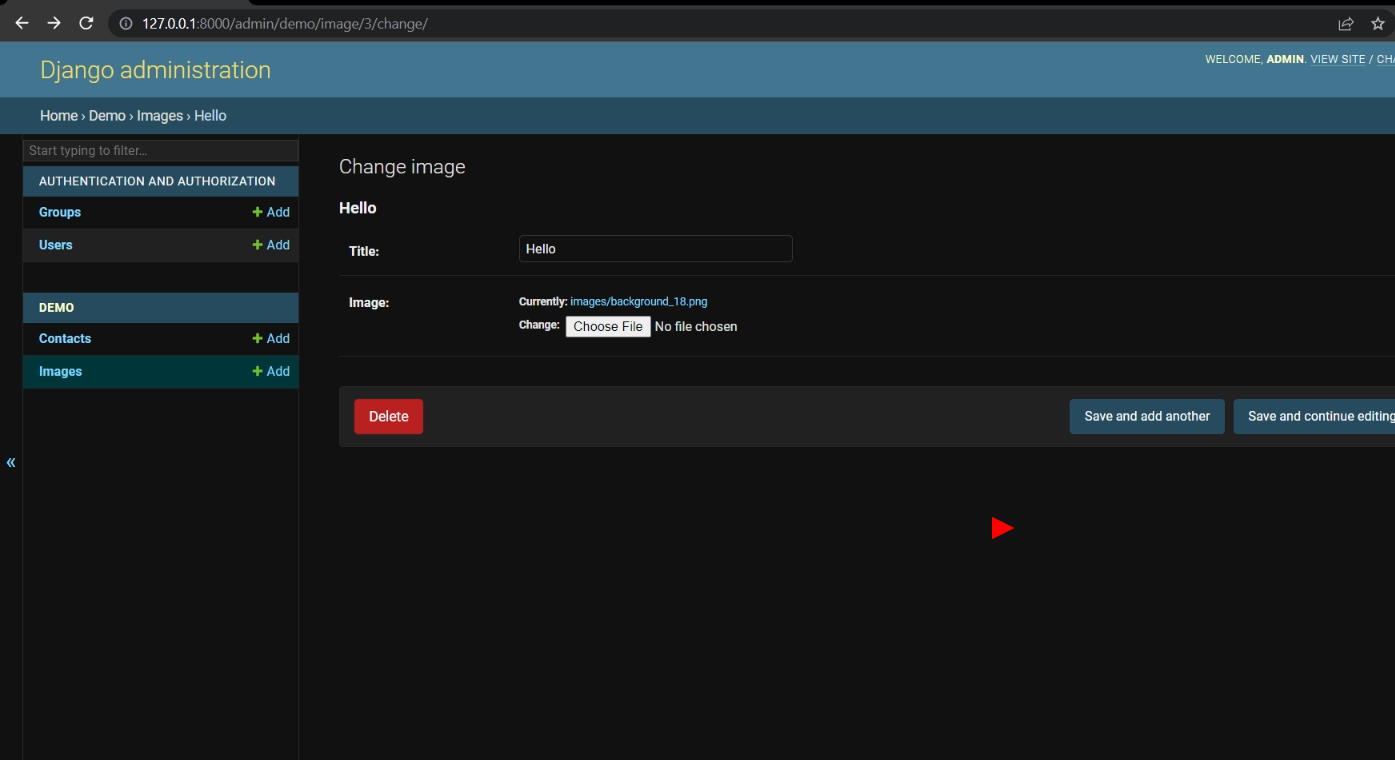
Register Models
To register our model in Django admin. Use the following expression.
- my_app/admin.py
from demo.models import Image

# Register your models here.
admin.site.register(Image)
Here, first, we imported our model into Django admin and then we registered it.
We have done all the steps. Now use the following command to make migrations.
Python manage.py makemigrations
Now, use the following command to migrate.
Python manage.py migrate
Now, lets check our form is working or not.
So, our image is successfully uploaded. Now let us check if it is saved in the database or not.
saved successfully!